When starting the renovation of our building in downtown Acworth, Georgia we knew we wanted to pay as close attention to even the smallest of details as possible. Our main goal was to incorporate the charm of this aged space along with current trendy touches. In the real estate business we come across many unique styles daily. As a family we own rental property, and it just so happened that one of our homes incorporated these beautiful antique solid wood doors with the most gorgeous crystal knobs. Right then and there we knew we had to somehow incorporate this into our new office space. Not only would it fit beautifully, but would also highlight the charming character of this space!
Here is how I began to transform this door step by step…
It all started with a trip to my favorite store, The Home Depot.
I scrubbed the dust and debris and wiped clean
Removed the existing beautiful hardware (and saved in a safe place to use later)
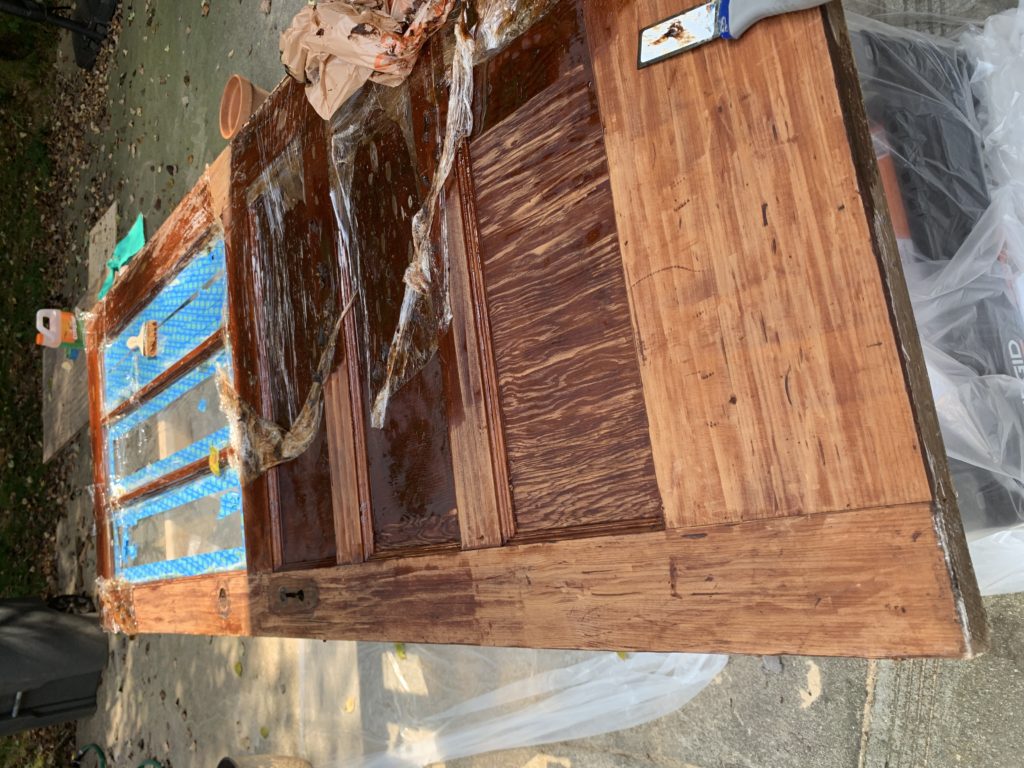
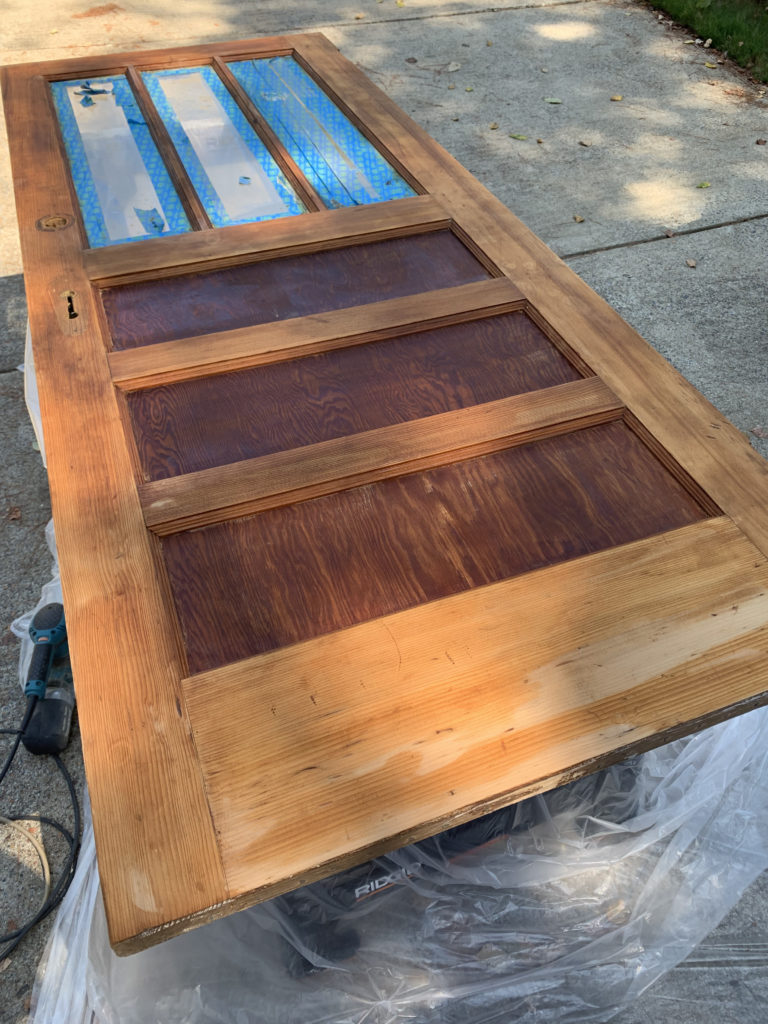
I stripped down the existing paint and stain to expose more of the underlying natural wood.
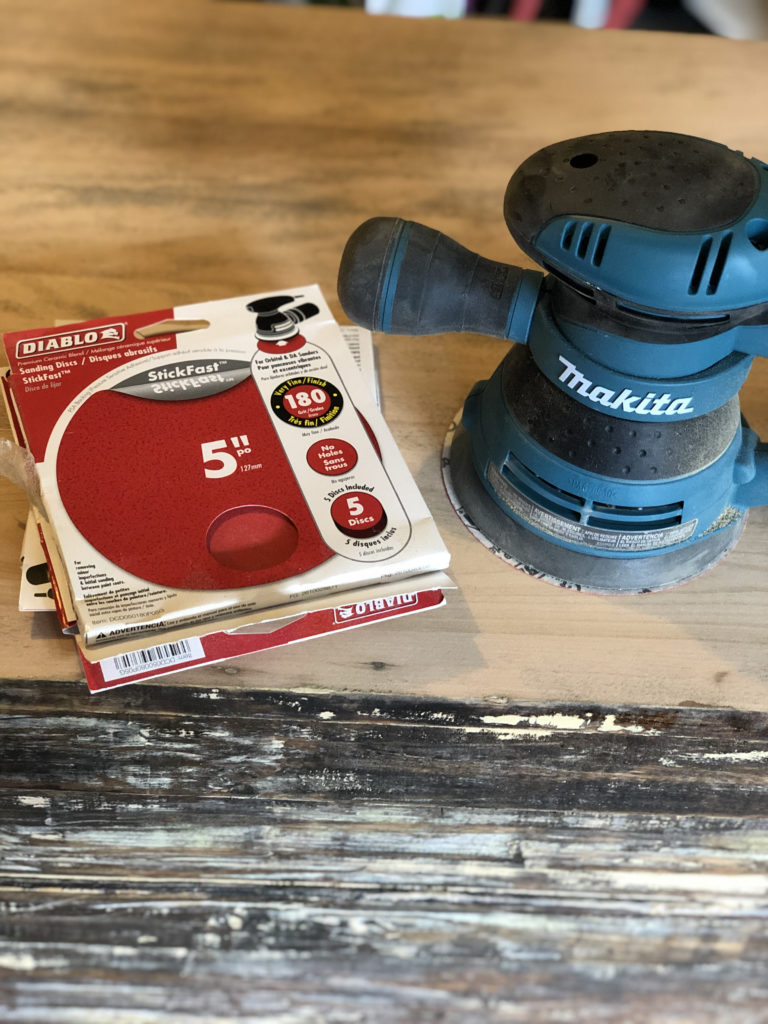
I sanded the entirety of the door (this was no small task… lol!)
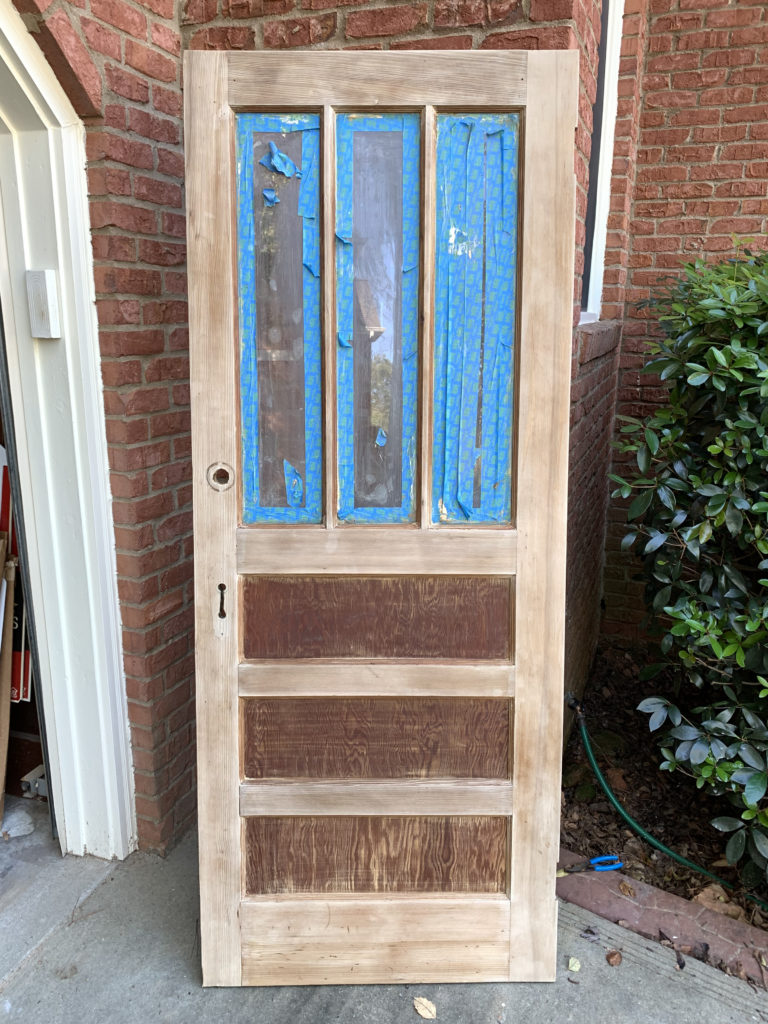
I used bleach to lighten the natural color of the wood
I sealed the door to ensure its durability in its new home (our office!)
I cleaned up the existing brass hardware
And lastly, will reinstall the hardward, and ta-da! A beautifully unique antique door!
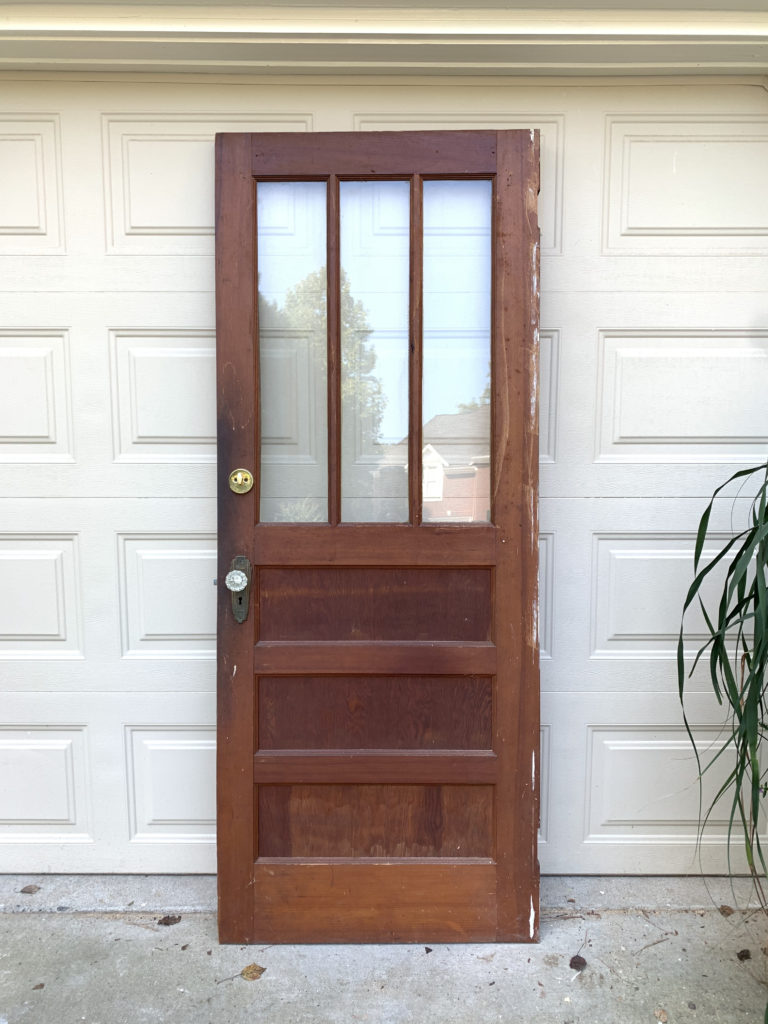
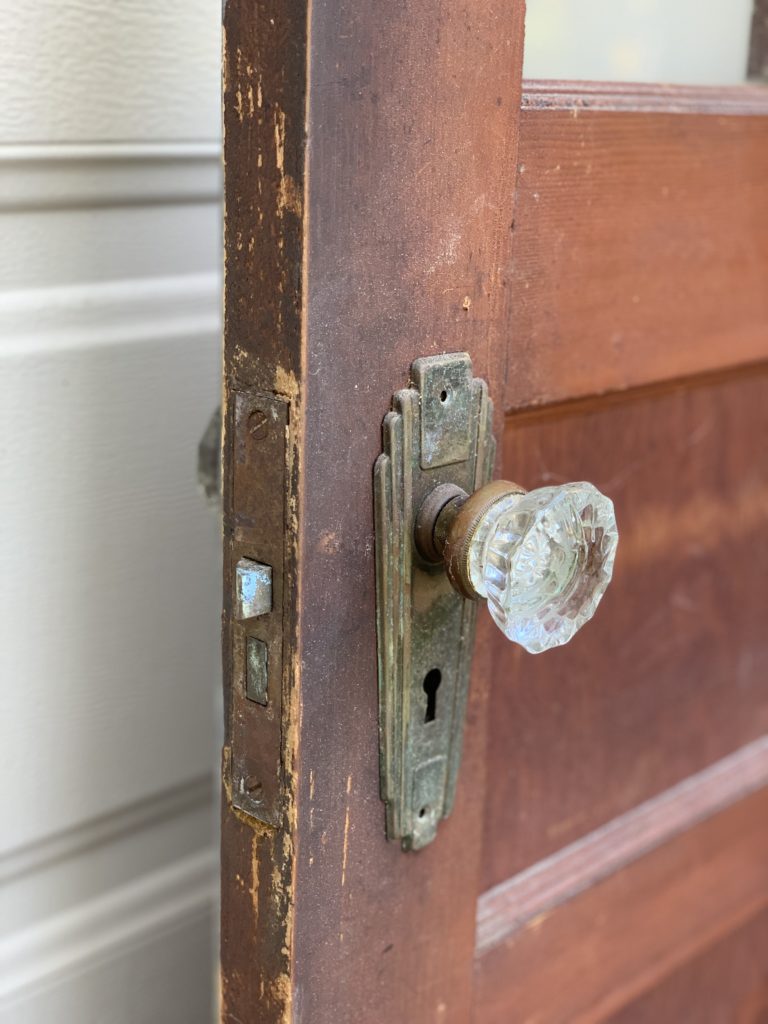
BEFORE
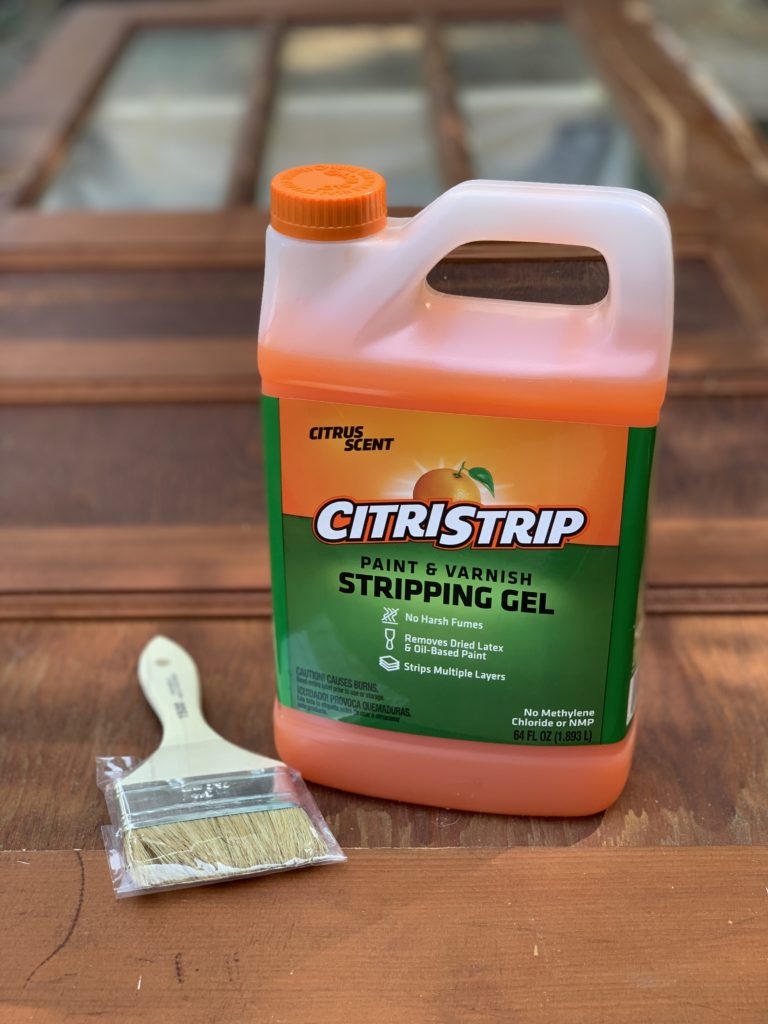
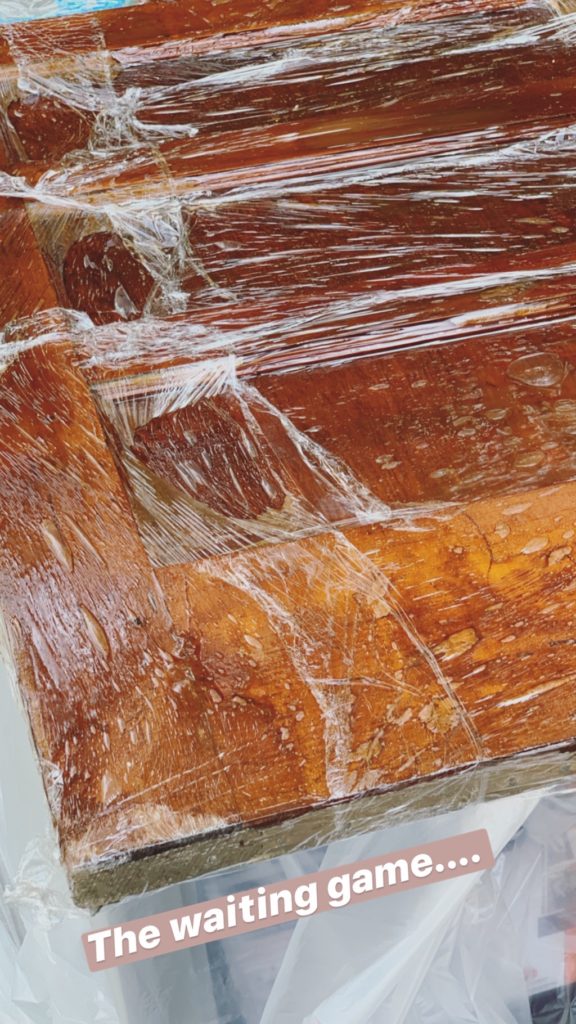
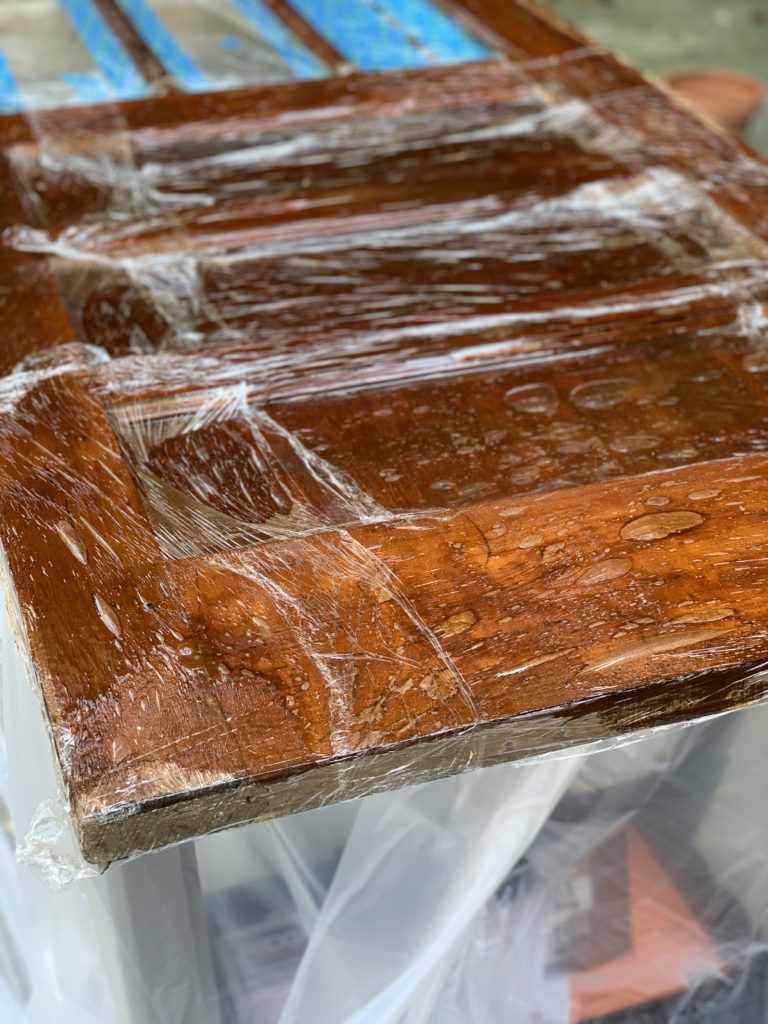
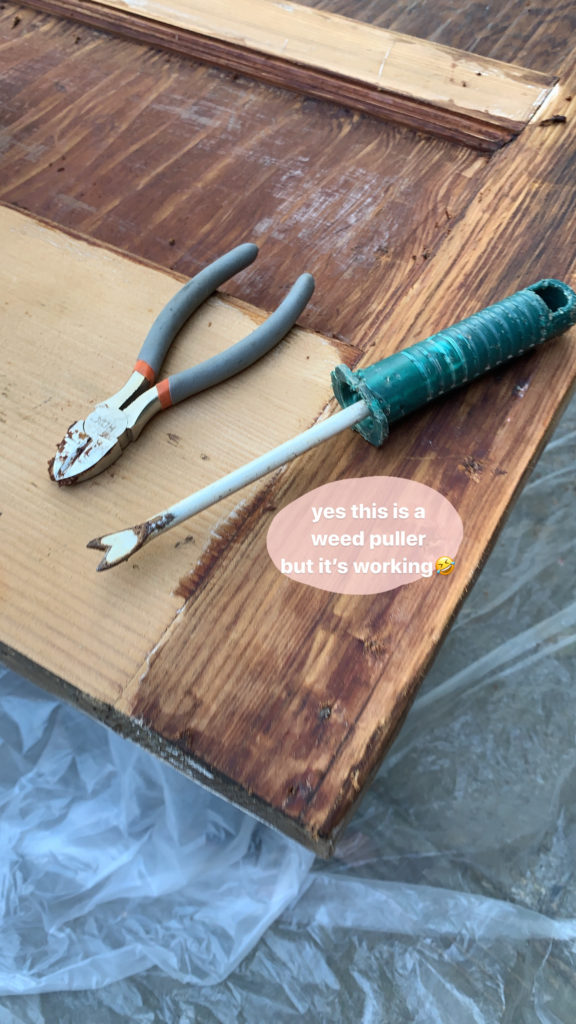
The BEFORE – antique door featuring glass knobs and brass hardware.BEFORE: These crystal door knobs are giving me ALL the inspiration…The best stripper that doesn’t have any harsh fumes, and won’t burn your skin upon contact… (still wear gloves but SO much better!)** Make sure to lay a disposable paint cloth underneath your project, this step will get a little messy!** I applied Citrus Strip with a cheap paint brush from Home Depot (I just throw these out after each project) and wrapped the door in Saran Wrap. This helps the stripper activate more quickly and cuts down on the waiting game. You want to apply a thick layer of stripper to your project piece — the more the better!I waited about two hours for the stripper to work, pealed off a small corner of saran wrap and tested the corner. The stain started to peal back easily, so I started using my metal scraper pressing down and along the wood grain to remove all stain. and attempted to pull out all of the small old nails found in the door…I forgot to take a picture of this step, but after your citrus strip has been removed and had time to dry out, it is time to sand! I started with 120 grit sandpaper and my Ryobi Orbital Sander (worth the small investment!), then 150 grit, followed by 220 grit for a nice smooth finish.
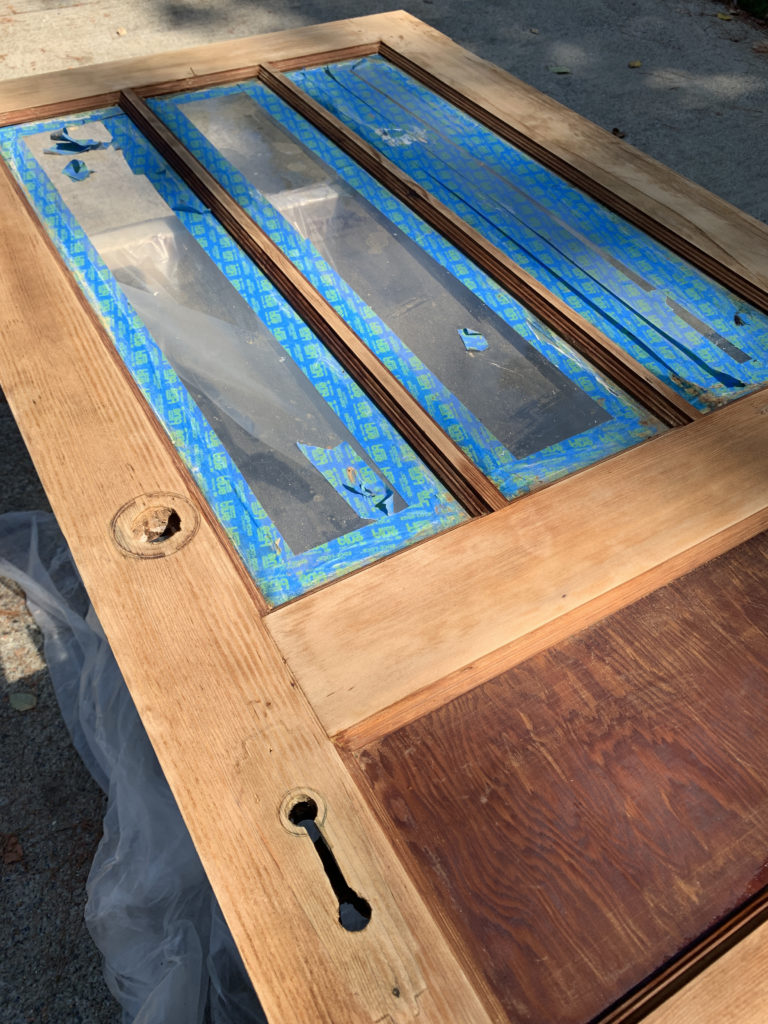
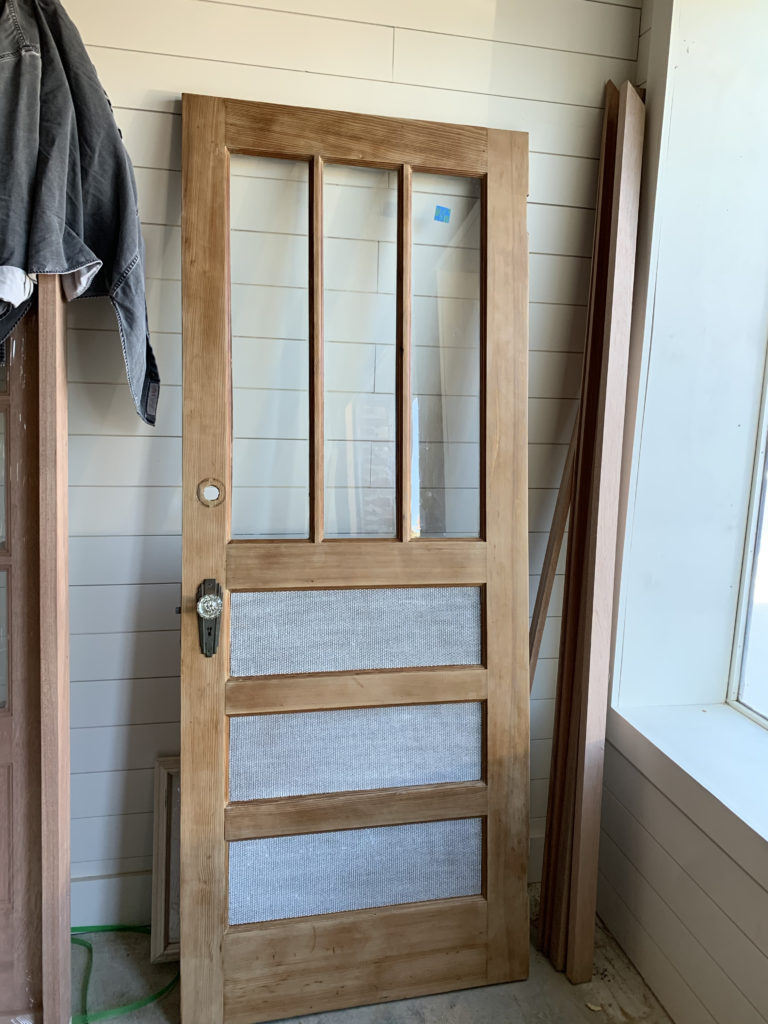
As my project began to get to the natural wood I loved, I used splashless bleach and applied a thin coat, letting the door dry in the sunlight in between coats. I repeated this step 4 times to enhance the light natural wood color I wanted!My favorite tool! Ryobi Orbital Sander — can be found at Home Depot!I also taped off the windows at the beginning of my project…After 4 coats bleach! — I then resanded with 220 grit sand paper once the door was dry.The final product! I am so happy with the way the natural wood color was able to be enhanced while keeping the integrity of age of our door.
* I was not too happy with way the veneer ended up looking like so I chose to add additional detail… See below!*I found seagrass fabric from a local Marietta fabric store– YAY! I cut the fabric down to size, applied a light white washing to the greenish toned fabric, and applied the fabric carefully to each section with wood glue. I love the way this door turned out, we have two others I may have to tackle soon… STAY TUNED!
Until next project… Macy
Thank you for reading! Please comment or reach our with any questions and be sure to tag us @thegrattafiorigroup_homes on Instagram and Facebook if you attempt this technique or in any DIY home project!
Downtown Acworth Office Sneak Peek…
Coming soon to Main Street this winter 2019-2020!
https://www.instagram.com/p/B3Umws2JhR9/
Another project I’ve done following these same steps! Follow @macy_noelle21 for more DIY’s!